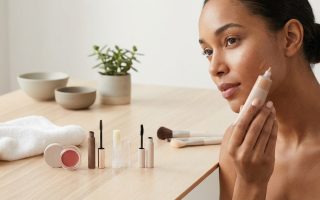
You apply your favorite lipstick, check the mirror, and everything looks perfect. Two hours later, you catch your reflection and notice color creeping into the tiny lines around your mouth. It happens to so many of us, especially as our skin matures and those vertical lip lines become more pronounced. The good news? You don’t need to give up bold colors or your favorite formulas. You just need a few strategic adjustments to your routine.
Preventing lipstick from bleeding into fine lines requires proper lip preparation, strategic product layering, and choosing the right formulas. Start with exfoliated, moisturized lips, use a lip primer or balm as base, apply lip liner around the entire lip perimeter, layer your lipstick with powder in between, and choose long-wear or matte formulas that resist feathering throughout the day.
Understanding Why Lipstick Bleeds
Lipstick bleeding happens when color migrates beyond your lip line into the fine lines and wrinkles around your mouth. These vertical lines, sometimes called smoker’s lines or lipstick lines, act like tiny channels that pull pigment away from where you want it.
As skin ages, it loses collagen and elasticity. The lip area becomes drier and develops more texture. Traditional creamy lipsticks contain oils and emollients that can travel along these lines, especially when combined with natural lip oils, eating, drinking, or talking throughout the day.
The problem gets worse with certain formulas. Super glossy or very emollient lipsticks slide more easily. Darker shades show migration more obviously than lighter ones. Even the way you apply your lipstick can contribute to bleeding if you’re not using the right techniques.
Preparing Your Lips Properly
The foundation for bleed-proof lipstick starts before you even pick up color. Your lip prep routine matters more than you might think.
Exfoliate gently
Dead skin cells create an uneven surface that lipstick clings to inconsistently. Use a soft toothbrush or a sugar-based lip scrub once or twice weekly. Gently buff in circular motions, then rinse with warm water. This smooths the surface and helps color go on evenly.
Moisturize strategically
Hydrated lips hold color better, but timing matters. Apply a nourishing lip balm at night and first thing in the morning. Before makeup application, use a thin layer of balm and let it absorb for at least five minutes. Blot away any excess with a tissue. You want lips that are hydrated but not slippery.
Consider your skincare
The products you use around your mouth affect lipstick performance. If you apply face cream or serum too close to your lip line, those emollients can create a slippery base. Keep rich moisturizers about a quarter inch away from your lip border.
The Step-by-Step Application Method
Here’s the proven technique that keeps color exactly where you put it.
-
Apply lip primer or set your base. After your lip balm has absorbed, apply a dedicated lip primer or lightly dust translucent powder over your lips and the skin just outside your lip line. This creates a slightly grippy surface that holds color in place.
-
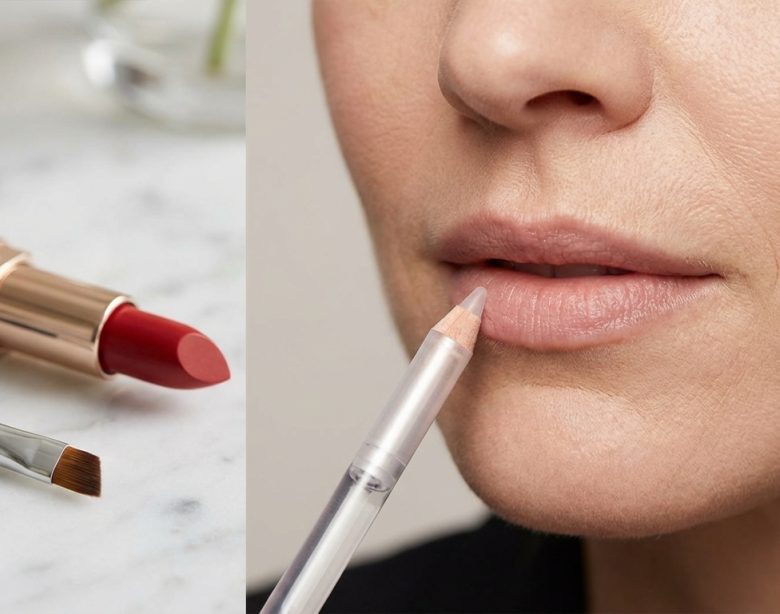
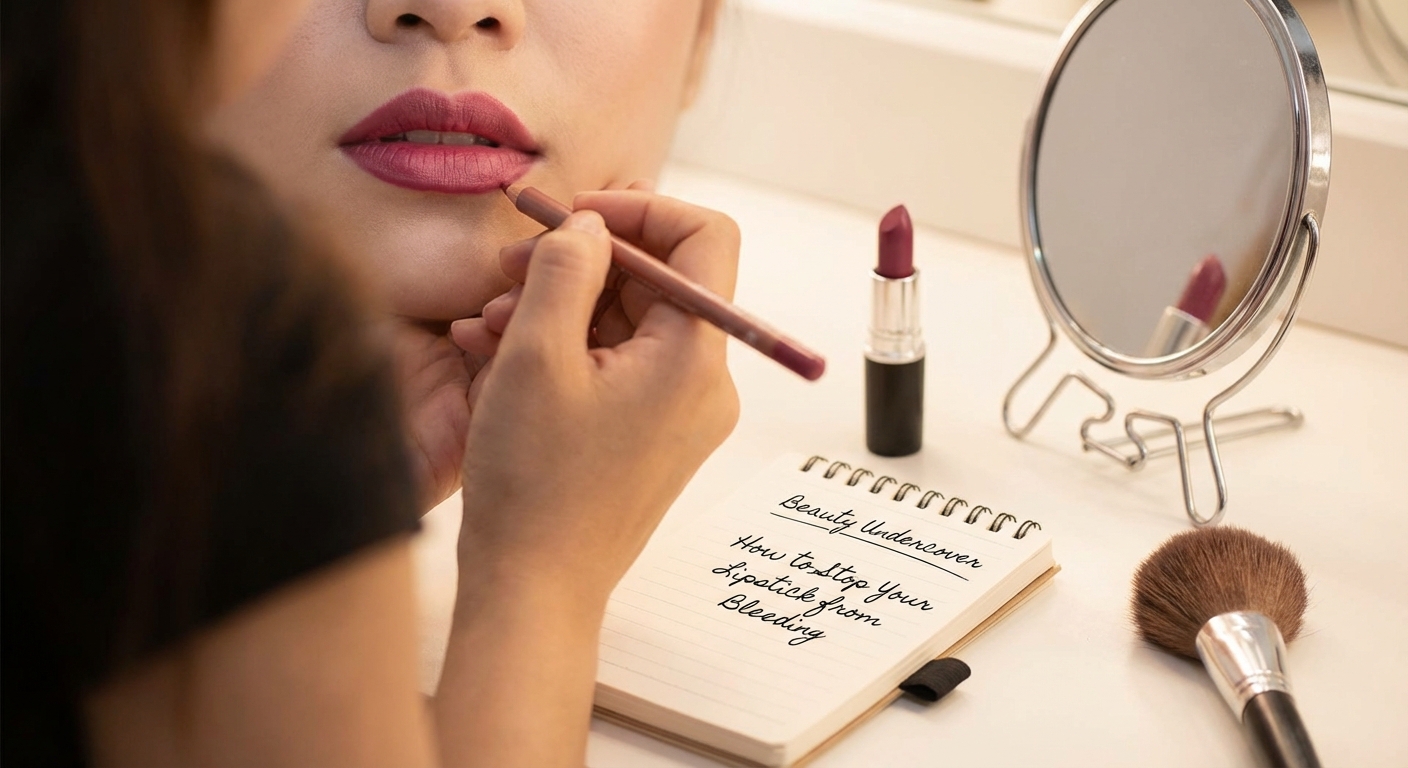
Line your entire lip. Choose a lip liner that matches your lipstick or your natural lip color. Line just outside your natural lip border, then fill in your entire lip with the liner. This creates a waxy barrier that blocks color migration and gives your lipstick something to grip.
-
Apply your first layer of lipstick. Use a lip brush for precision. Start at the center of your upper lip and work outward, staying within the lined area. Repeat on the lower lip. Blot gently with a tissue.
-
Set with powder. Place a single layer of tissue over your lips. Dust translucent powder over the tissue using a fluffy brush. The powder particles will penetrate the tissue and set your first lipstick layer without making it look cakey.
-
Apply a second lipstick layer. Add another thin coat of color. This layering technique with powder in between creates a long-lasting, budge-proof finish that resists feathering.
-
Clean up the edges. Dip a small concealer brush in foundation or concealer and trace around the outside of your lip line. This sharpens the edges and creates an additional barrier against bleeding.
Choosing the Right Products
Not all lipsticks are created equal when it comes to preventing bleeding. Your formula choice makes a significant difference.
Formulas that resist bleeding
- Matte liquid lipsticks that dry down completely
- Long-wear lipsticks with polymer technology
- Stain-based lip colors
- Powder lipsticks or lip crayons with a drier texture
- Satin finishes with some grip
Formulas that bleed more easily
- High-shine glosses
- Very creamy, emollient bullets
- Sheer tinted balms
- Oil-based lip colors
- Anything that feels slippery on application
“The texture of your lipstick matters as much as the color. If you’re prone to feathering, choose formulas described as long-wearing, transfer-proof, or matte. These contain ingredients that help color adhere to lips rather than migrate into lines.” – Professional makeup artists consistently recommend drier textures for mature lips.
Product Pairings That Work
Certain product combinations create a system that prevents bleeding better than any single item alone.
| Product Type | What to Look For | Why It Helps |
|---|---|---|
| Lip Primer | Silicone-based or waxy texture | Fills fine lines and creates smooth base |
| Lip Liner | Waxy, slightly dry formula | Creates physical barrier around lip perimeter |
| Lipstick | Matte or satin, long-wear claim | Stays put without traveling |
| Setting Powder | Translucent, finely milled | Absorbs oils and locks color |
| Setting Spray | Alcohol-based (optional) | Additional hold for special occasions |
Common Mistakes to Avoid

Even with the right products, certain habits can sabotage your efforts.
Skipping lip liner. You might think liner is old-fashioned, but it’s your strongest defense against bleeding. Modern liners come in clear or universal shades if you don’t want to match every lipstick.
Applying too much product at once. Thick layers of lipstick are more likely to move. Thin, built-up layers stay put better.
Using the wrong lip balm. Heavy, petroleum-based balms create a slippery base. Choose lighter, absorbing formulas for daytime prep.
Ignoring the area around your lips. If you have fine lines extending beyond your lip line, treat that area with primer or a light layer of foundation to minimize the channels where color can travel.
Forgetting to blot. Blotting removes excess oils and helps color set. It’s a simple step that makes a real difference.
Adjusting Your Routine for Different Occasions
Your strategy might shift depending on how long you need your lipstick to last.
For everyday wear, a good liner plus one layer of lipstick might be enough. You can touch up after lunch without much effort.
For events where you can’t reapply often, use the full layering technique with powder. Consider a long-wear liquid lipstick that dries completely. These formulas can feel drying, so prep with extra hydration the night before.
If you’re eating a meal, apply lip balm before your event, let it absorb, then do a full application. The balm prevents extreme dryness while the proper technique keeps color from traveling.
Working with Your Existing Favorites
You don’t necessarily need to replace all your current lipsticks. You can modify how you use them.
If you love a creamy formula that tends to bleed, apply it over a completely filled-in lip liner. Use less product than usual. Blot thoroughly. Set with powder. This won’t give you the exact same finish as wearing it alone, but it will be closer than switching to a completely different formula.
For glosses, apply them only to the center of your lips, avoiding the outer edges where bleeding typically starts. This gives you shine without the migration.
Layer a stain underneath your favorite lipstick. The stain stays put even if the top layer moves slightly, so you maintain color coverage.
Additional Tips for Mature Lips
Beyond preventing bleeding, these habits help lipstick look better overall on lips with fine lines.
Keep your lips well-hydrated between wearings. Use a treatment balm or oil at night. Well-moisturized lips develop fewer new lines and existing ones look less pronounced.
Consider your lip color choices. Very dark or very bright shades emphasize texture and make bleeding more visible. Medium tones in berry, rose, or mauve shades are often more forgiving.
Pay attention to finish. Completely matte formulas can emphasize dryness and make lines look deeper. A satin or velvet finish often looks more flattering while still resisting feathering.
If you notice your skincare routine includes retinol or acids, be aware these can make lips more sensitive and dry. You might need extra hydration steps on days you wear lipstick.
Troubleshooting Persistent Problems
If you’re still experiencing bleeding after trying these techniques, consider these factors.
Your lip liner might be too soft. Switch to a firmer, waxier formula that creates a stronger barrier.
You might need a dedicated lip primer. These products are specifically designed to fill lines and prevent feathering. They work differently than regular primers or balms.
Check your powder. Some powders are too coarse or contain shimmer that doesn’t set properly. Use a very fine, matte translucent powder for the tissue technique.
Evaluate your lipstick age. Old lipstick separates and becomes more oily, which increases bleeding. If your favorite formula suddenly starts feathering when it didn’t before, it might be past its prime.
Consider professional treatments. Some people find that lip line treatments or fillers reduce the depth of vertical lines, which minimizes bleeding regardless of products used. This is a personal choice and not necessary for everyone.
Making These Techniques Part of Your Routine
When you first start using these methods, they might feel like extra steps. Give yourself time to build the habit.
Start with just one or two changes. Maybe begin by adding lip liner to your routine. Once that feels natural, incorporate the powder-setting technique.
Prep your products the night before if mornings feel rushed. Line up your lip primer, liner, lipstick, and powder so they’re ready to use in sequence.
Practice on days when you’re home. Get comfortable with the techniques before you rely on them for an important event.
Take photos in different lighting to see what’s working. Your bathroom mirror might not show bleeding that becomes visible in natural light or photographs.
Keeping Your Look Fresh All Day
Even with perfect application, you’ll likely need some maintenance.
Carry your lip liner and lipstick for touch-ups. Reapply liner first if you notice any fading, then add color.
Blot after eating or drinking rather than wiping. Wiping removes product completely, while blotting just removes excess and helps what remains resettle evenly.
Use a straw when possible to minimize contact with your lip line.
Check your lips in natural light periodically. Indoor lighting can hide bleeding that’s visible in sunlight.
If you’re combining your makeup routine with other beauty priorities, the same attention to technique that prevents lipstick bleeding applies to creating polished looks in other areas too.
Your Lipstick Can Look Perfect All Day
The frustration of watching your carefully applied lipstick creep into fine lines is completely fixable. You don’t need expensive treatments or complicated products. You need the right preparation, strategic layering, and formulas that work with mature lips instead of against them.
Start with one technique from this guide. Maybe it’s adding a lip liner step, or trying the tissue-and-powder method. See what difference that single change makes. Then add another element. Before long, these steps will feel automatic, and you’ll have lipstick that stays exactly where you put it from morning until evening. Your favorite bold red or perfect pink can be part of your daily routine again, without the worry of checking the mirror every hour.