Your skin repairs itself while you sleep. That’s not marketing speak, it’s biology. Between 10 PM and 2 AM, your skin cells regenerate faster, collagen production peaks, and blood flow increases. But here’s the catch: your skin can only do its best repair work if you give it the right support. That’s where a streamlined 3 step night skincare routine comes in.
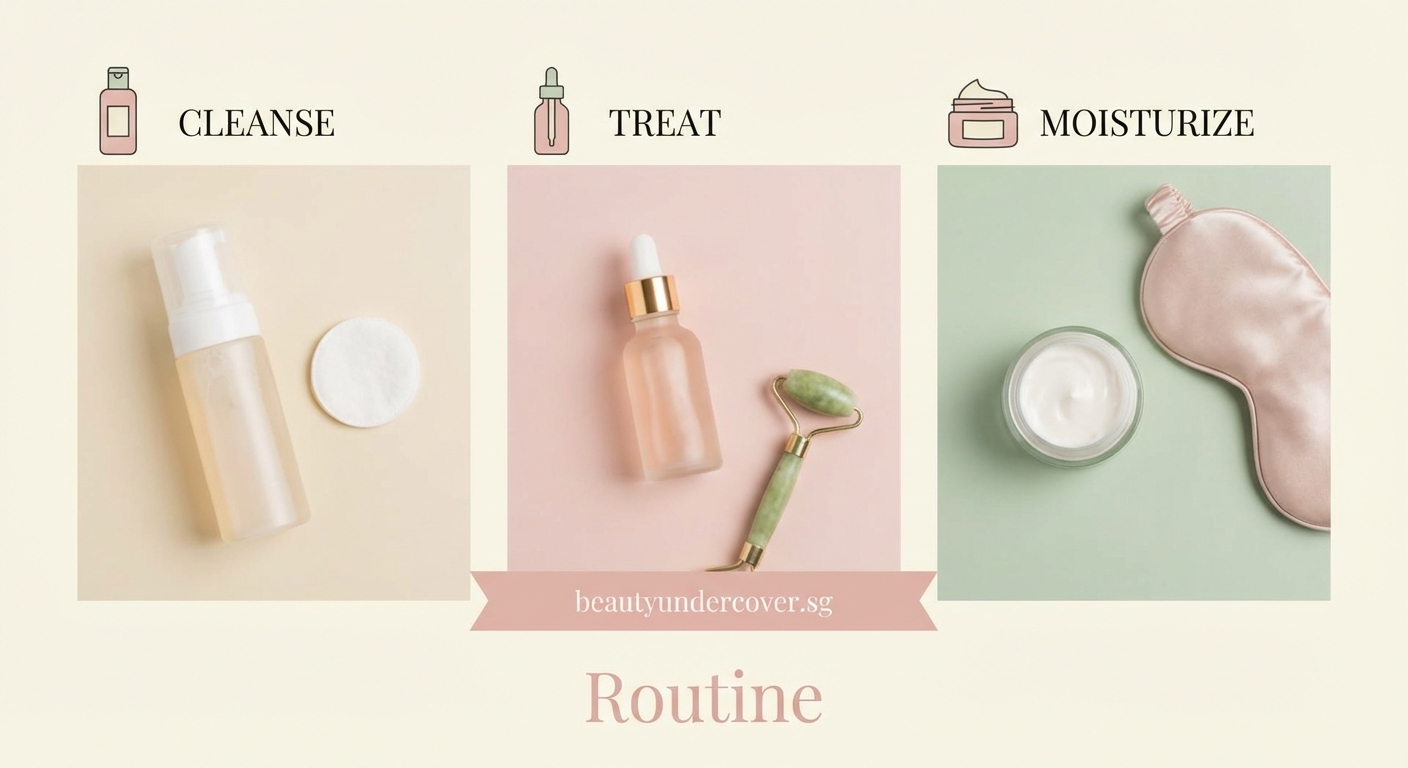
A 3 step night skincare routine focuses on cleansing, treating, and moisturizing. These three steps work with your skin’s natural overnight repair process to deliver visible results. You don’t need ten products or an hour of your evening. Just three targeted steps, done consistently, will transform your skin while you sleep. It’s about working smarter, not harder.
Why Nighttime Skincare Matters More Than You Think
Your daytime routine protects. Your nighttime routine repairs.
During the day, your skin is in defense mode. It fights UV rays, pollution, and environmental stress. At night, it shifts into recovery mode. Cell turnover accelerates. Your skin becomes more permeable, which means it absorbs active ingredients better.
This is why the products you use before bed matter so much. They have hours to work without interruption. No makeup. No sunscreen. No environmental aggressors. Just pure repair time.
A simplified how to build a simple 3-step skincare routine for absolute beginners approach works best because consistency beats complexity every time.
The Three Essential Steps

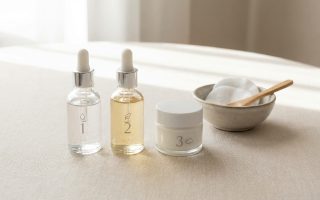
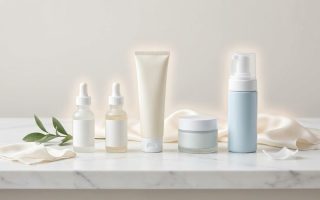
Here’s what your evening routine needs, nothing more and nothing less.
Step 1: Cleanse Away Everything
Start with a clean slate. Your skin collected dirt, oil, makeup, and pollution all day. All of that needs to go before you sleep.
Use a gentle cleanser that removes everything without stripping your skin. If you wear makeup or sunscreen, you might need two passes. The first removes surface buildup. The second actually cleans your skin.
How to cleanse properly:
- Wet your face with lukewarm water
- Apply cleanser to your fingertips
- Massage in circular motions for 60 seconds
- Rinse thoroughly
- Pat dry with a clean towel
Don’t scrub. Don’t use hot water. Don’t skip your jawline and hairline. These small details make a real difference.
“The single biggest mistake I see is people not cleansing long enough. One splash and rinse doesn’t cut it. Your cleanser needs time to break down oil and debris. Give it at least 60 seconds.” — Board-certified dermatologist
Step 2: Treat Your Specific Concerns
This is where you address what bothers you most. Dark spots? Fine lines? Texture? Redness? Pick one or two concerns and target them with active ingredients.
Your treatment step might be a serum, essence, or targeted treatment. The key is choosing products with proven active ingredients that work while you sleep.
Common nighttime actives and what they do:
| Active Ingredient | What It Treats | Best For |
|---|---|---|
| Retinol | Fine lines, texture, dark spots | Aging concerns |
| Niacinamide | Pores, redness, uneven tone | Combination skin |
| Vitamin C | Brightness, dark spots | Dull skin |
| Hyaluronic Acid | Dehydration, plumpness | All skin types |
| AHA/BHA | Texture, congestion, dullness | Textured or acne-prone skin |
Start with one active ingredient. Use it consistently for at least six weeks before adding another. Your skin needs time to adjust and show results.
If you’re curious about specific ingredients, understanding what does niacinamide really do for your skin can help you make informed choices.
Step 3: Seal Everything In With Moisture
Your final step locks in all the good stuff you just applied. A moisturizer creates a protective barrier that prevents water loss while you sleep. It also keeps your treatment products from evaporating before they can work.
Choose a moisturizer based on your skin type:
- Oily skin: Lightweight gel or gel-cream
- Dry skin: Rich cream or balm
- Combination skin: Medium-weight lotion
- Sensitive skin: Fragrance-free cream with minimal ingredients
Apply your moisturizer to slightly damp skin. This traps extra hydration and helps the product spread more easily.
Don’t forget your neck. The skin there is thinner and shows aging faster than your face.
Common Mistakes That Sabotage Your Routine
Even with just three steps, there are ways to mess things up. Here’s what to avoid.
Rushing through cleansing. If you’re not spending at least 60 seconds, you’re leaving residue behind. That residue blocks your treatment products from absorbing properly.
Using too many actives at once. More is not better. Layering retinol, vitamin C, and acids in one night overwhelms your skin. Pick one or two actives and stick with them.
Skipping moisturizer because you have oily skin. Oily skin still needs hydration. When you skip moisturizer, your skin overcompensates by producing more oil. Use a lighter formula instead of skipping this step entirely.
Applying products to bone-dry skin. Your skin absorbs products better when it’s slightly damp. Pat your face with a towel after cleansing, but leave it a little moist before applying your treatment.
Changing products every week. Skincare takes time. You need at least four to six weeks to see results from most active ingredients. Switching products constantly means you never give anything a fair chance.
How to Adapt This Routine for Different Skin Types
The three steps stay the same, but the products change based on your needs.
For oily or acne-prone skin:
– Gel or foam cleanser
– BHA serum or niacinamide treatment
– Lightweight gel moisturizer
For dry or mature skin:
– Cream or oil-based cleanser
– Retinol or peptide serum
– Rich cream or facial oil
For sensitive skin:
– Fragrance-free gentle cleanser
– Soothing serum with ceramides or centella
– Barrier-repair moisturizer
For combination skin:
– Balanced gel-to-cream cleanser
– Niacinamide or hyaluronic acid serum
– Medium-weight lotion
You can also adjust based on the season. Your skin might need richer products in winter and lighter ones in summer. That’s normal.
Building the Habit That Sticks
The best routine is the one you actually do. Here’s how to make it stick.
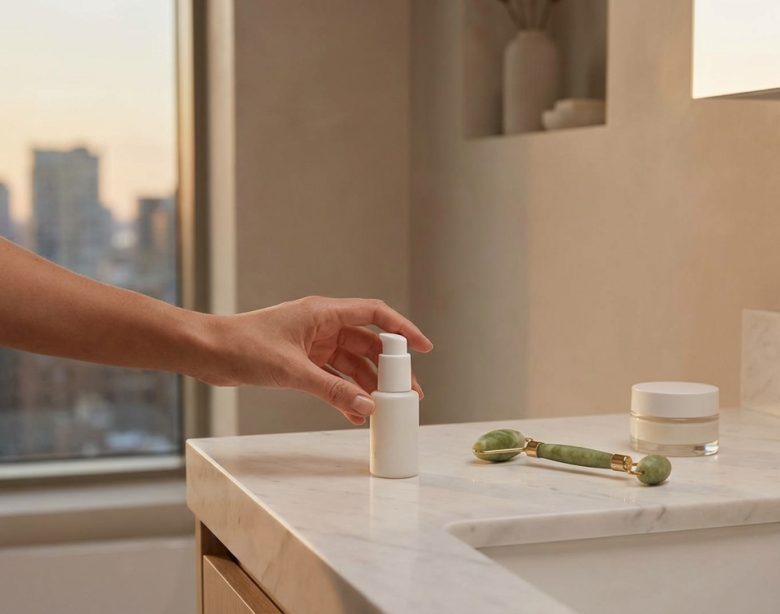
Set a specific time. Don’t wait until you’re exhausted. Do your routine at the same time each night, ideally 30 minutes before bed. This gives products time to absorb before you hit the pillow.
Keep everything visible. Store your three products in one place where you see them every evening. Out of sight means out of mind.
Start with the basics. If three steps feel like too much right now, start with just cleansing and moisturizing. Add the treatment step once the first two become automatic.
Track your progress. Take a photo on day one. Then take another photo every two weeks. You’ll see changes that you might miss in the mirror.
Give it time. Most people quit skincare routines after two weeks because they don’t see instant results. Skin cell turnover takes 28 days. Real change takes at least six weeks. Stick with it.
The same principle applies whether you’re building a skincare routine or working on the ultimate 10-minute morning skincare routine for busy people. Consistency matters more than perfection.
What to Expect Week by Week
Here’s a realistic timeline for what you’ll notice.
Week 1: Your skin adjusts to the new routine. You might not see dramatic changes yet, but your skin should feel cleaner and more hydrated.
Week 2: Texture starts to smooth out. If you’re using an active ingredient, you might experience some mild purging or adjustment.
Week 3-4: This is when things get interesting. Dark spots may start to fade. Fine lines look softer. Your skin tone becomes more even.
Week 6-8: Results become obvious. People might ask if you’re doing something different. Your skin looks healthier, more radiant, and feels better to touch.
Month 3+: This is where maintenance happens. Your skin has adapted to the routine. You’re seeing consistent, long-term results.
When to Add or Change Something
Sometimes three steps need a small adjustment. Here’s when to modify your routine.
Add a fourth step if:
– You wear heavy makeup or waterproof sunscreen (add an oil cleanser first)
– Your skin is extremely dry (add a facial oil after moisturizer)
– You have specific eye concerns (add an eye cream before moisturizer)
Change your treatment if:
– You’ve used the same active for three months with no results
– Your skin is irritated or inflamed
– Your concerns have changed (like switching from acne to anti-aging)
Simplify back to basics if:
– Your skin is red, burning, or peeling
– You’re traveling or stressed
– You’re sick or recovering from a procedure
Listen to your skin. It will tell you what it needs.
Product Selection Tips That Actually Matter
You don’t need expensive products to get results. You need the right ingredients in stable formulations.
Look for these things on the label:
– Active ingredients listed in the first five ingredients
– Appropriate packaging (opaque or airless for vitamin C and retinol)
– Expiration dates or PAO symbols
– Fragrance-free options for sensitive skin
Skip products that:
– List water or filler as the first three ingredients with no actives
– Come in clear jars (light degrades most actives)
– Make unrealistic promises (no cream erases wrinkles overnight)
– Contain high amounts of fragrance or essential oils if you’re sensitive
You can build an effective routine at any price point. Drugstore brands often use the same active ingredients as luxury brands. The difference is usually packaging and marketing, not efficacy.
For budget-conscious options, check out how to build a luxury skincare routine without breaking the bank for more guidance.
Beyond Your Face
Your neck and chest age just as fast as your face, but most people forget to extend their routine down.
Apply everything you put on your face to your neck and chest:
– Use downward strokes on your neck
– Don’t forget the sides of your neck
– Extend to your décolletage
– Use gentle pressure (the skin is thinner here)
This takes an extra 30 seconds but makes a visible difference over time.
The Reality Check You Need
A 3 step night skincare routine won’t fix everything. It won’t erase deep wrinkles. It won’t reverse decades of sun damage in a month. It won’t give you completely different skin.
What it will do is support your skin’s natural repair process. It will improve texture, tone, and hydration. It will help your skin function better. It will give you the healthiest version of your own skin.
That’s not a small thing. That’s everything.
Your Skin Does the Work, You Just Support It
Your skin already knows how to repair itself. It’s been doing it since you were born. A 3 step night skincare routine simply gives your skin the tools it needs to do that job better.
Clean your face thoroughly. Apply one or two targeted treatments. Lock everything in with moisture. Do this every night. Give it six weeks.
That’s it. No complicated layering. No 10-step routines. No spending an hour in the bathroom. Just three simple steps that work with your skin’s natural overnight repair cycle.
Your future skin will thank you for starting tonight.