Finding the right foundation shade can feel impossible when you’re staring at 40 bottles that all look identical. You end up with a shade too orange, too pink, or weirdly gray. Maybe you’ve bought three different bottles trying to get it right, and they’re all sitting unused in your drawer. The good news? Once you understand how to choose foundation shade based on your undertone and skin tone, the process becomes straightforward.
Choosing the right foundation shade requires identifying your skin tone depth, determining your undertone (cool, warm, or neutral), and testing shades in natural light on your jawline. Match foundation to your neck rather than your face, test multiple shades at once, and adjust seasonally. The perfect match should disappear into your skin without blending.
Understanding skin tone versus undertone
Most people confuse skin tone with undertone, but they’re completely different things.
Skin tone refers to the surface color of your skin. It ranges from fair to deep. This is what you see when you look in the mirror.
Undertone is the subtle hue underneath your skin’s surface. It stays consistent regardless of sun exposure or seasonal changes. There are three categories: cool (pink, red, or blue), warm (yellow, peachy, or golden), and neutral (a balanced mix of both).
Your foundation needs to match both your skin tone depth and your undertone. A medium shade with warm undertones will look completely different from a medium shade with cool undertones, even though they’re the same depth.
Think of it like paint mixing. Two shades can be equally light or dark but pull completely different colors when applied.
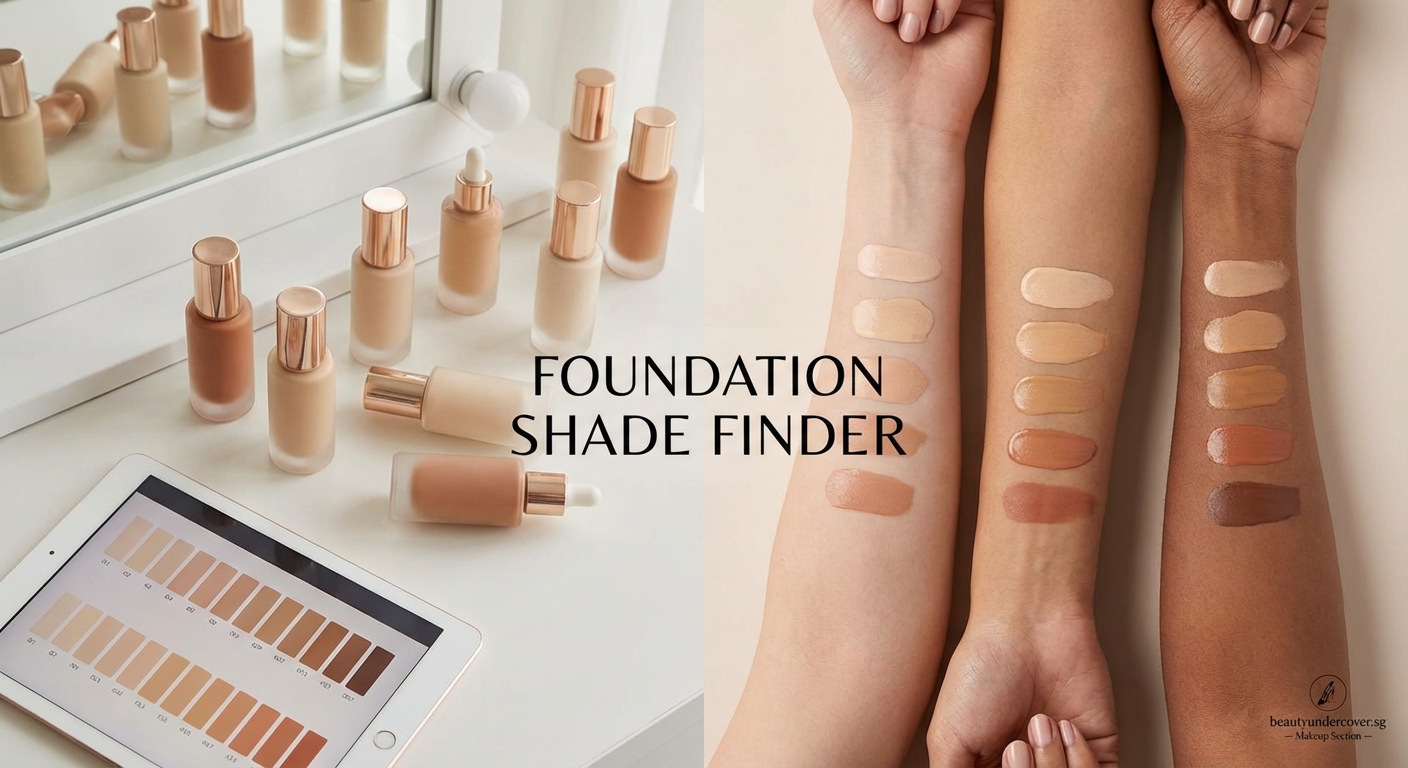
Finding your undertone in three simple ways
Here are three reliable methods to identify your undertone.
The vein test: Look at the veins on your inner wrist in natural light. Blue or purple veins indicate cool undertones. Green veins suggest warm undertones. If you can’t tell whether they’re blue or green, you likely have neutral undertones.
The jewelry test: Notice which metal makes your skin look brighter. Silver jewelry typically flatters cool undertones, while gold suits warm undertones. If both look equally good, you’re probably neutral.
The white fabric test: Hold a pure white piece of fabric next to your face in natural light. If your skin looks pink or rosy against it, you have cool undertones. If it looks yellow or golden, you have warm undertones. If it looks gray or ashy, you might be comparing against the wrong white (try a cream or off-white instead).
These tests work best when combined. Don’t rely on just one method.
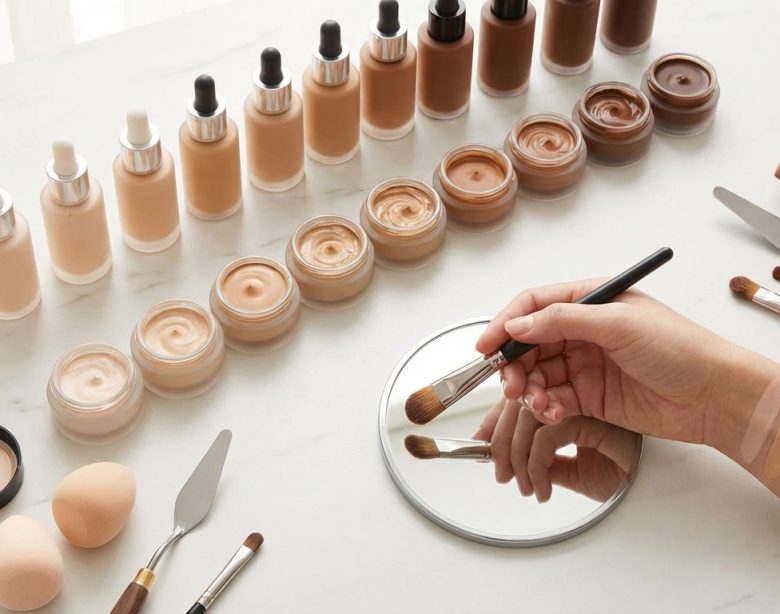
The step-by-step process for testing foundation shades
Here’s exactly how to test foundation shades to find your perfect match.
-
Start with three shades: Pick one that looks like your match, one slightly lighter, and one slightly darker. All three should have the same undertone family.
-
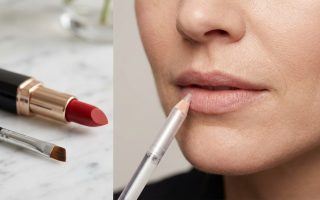
Apply stripes on your jawline: Swipe each shade in a stripe from your jawline down onto your neck. Never test on your hand or inner arm because those areas don’t match your face.
-
Step into natural light: Artificial store lighting lies. Walk outside or stand near a window with indirect sunlight.
-
Wait five minutes: Foundation oxidizes as it dries. The color you see immediately after application might darken or change slightly.
-
Find the disappearing shade: The right match literally vanishes into your skin. You shouldn’t see where the foundation ends and your natural skin begins.
Your face is often slightly different in color from your neck due to sun exposure. Always match your foundation to your neck, not your face. This prevents the mask effect where your face looks like it’s floating separately from your body.
“The biggest mistake people make is matching foundation to their face instead of their neck. Your face gets more sun exposure and environmental damage, so it’s often a different color. Match to your neck for the most natural look.” — Professional makeup artist recommendation
Common testing mistakes and how to avoid them
| Mistake | Why it fails | Better approach |
|---|---|---|
| Testing on your hand | Hand skin tone differs from facial skin | Always test on jawline and neck |
| Testing only one shade | You might be close but not exact | Test three shades simultaneously |
| Testing in store lighting | Fluorescent lights distort color | Step outside or use phone flashlight |
| Applying too much product | Heavy application looks different than real use | Use a thin, blended layer |
| Testing on makeup | Foundation over makeup shows wrong color | Remove makeup or test on clean skin |
| Rushing the decision | Foundation oxidizes over time | Wait at least 5 minutes before deciding |
The testing process takes time, but it saves you from buying the wrong shade repeatedly.
Adjusting for seasonal changes
Your skin tone shifts throughout the year. Most people need two foundation shades: one for winter and one for summer.
In winter, your skin is typically lighter because you get less sun exposure. Your summer shade might look too dark and obvious during colder months.
In summer, increased sun exposure darkens your skin. Your winter shade can look too light and ashy.
Some people mix two shades during transition seasons like spring and fall. This gives you a custom match without buying additional bottles.
If you’re working with how to create a flawless no-makeup makeup look in 5 easy steps, having the right seasonal shade becomes even more important because lighter coverage shows mismatches more obviously.
Choosing the right formula for your skin type
Foundation formula affects how the shade looks on your skin.
Matte foundations absorb oil and minimize shine. They work well for oily skin but can emphasize dry patches. The shade might appear slightly darker because there’s no light reflection.
Dewy foundations add radiance and moisture. They suit dry skin but can make oily skin look greasy. The shade might appear slightly lighter due to light-reflecting particles.
Satin foundations offer a middle ground with a natural finish. They work for most skin types and show the truest color match.
The same shade in different formulas can look different on your skin. A matte version might pull slightly darker, while a dewy version looks brighter.
Before committing to a shade, make sure you’re testing the formula you plan to wear daily. If you’ve established how to build a simple 3-step skincare routine for absolute beginners, you’ll have a better understanding of your skin type and which formula works best.
What to do when you’re between shades
Sometimes you fall perfectly between two shades. Here’s what to do.
Option one: Buy both shades and mix them. This gives you a custom match and lets you adjust as your skin tone changes seasonally.
Option two: Choose the lighter shade. It’s easier to deepen a too-light foundation with bronzer than to lighten a too-dark one.
Option three: Use the darker shade on your face and blend it down your neck. This only works if the difference is minimal (half a shade at most).
Option four: Try a different brand. Shade ranges vary between brands. You might find an exact match elsewhere.
Many makeup enthusiasts keep multiple shades on hand for mixing. It sounds excessive, but it’s more cost-effective than buying wrong shades repeatedly. I tested 15 drugstore foundations under $15 and these 5 are actually worth it if you want affordable options for building a small shade collection.
Special considerations for online shopping
Buying foundation online is risky but sometimes necessary. Here’s how to improve your odds.
- Check the brand’s shade description: Many brands list undertones in their shade names or descriptions (warm, cool, neutral).
- Read reviews from people with similar skin: Look for reviewers who mention their MAC shade or other reference points.
- Use virtual try-on tools: Many brands offer AR tools that show how shades look on your skin tone.
- Order samples first: Some brands sell sample sizes or offer return policies.
- Compare to shades you own: If you know your shade in one brand, use online comparison tools to find equivalents.
Never rely solely on how the foundation looks in the bottle. The color in the packaging rarely matches how it appears on skin.
Understanding shade naming systems
Foundation shade names can be confusing. Here’s how to decode them.
Most brands use a number or letter system:
– Numbers typically indicate depth (1 being lightest, 10 being deepest)
– Letters often indicate undertone (C for cool, W for warm, N for neutral)
– Descriptive names (Ivory, Beige, Tan) are less standardized and vary by brand
Some brands use completely unique systems. MAC’s NC and NW system, for example, seems backwards: NC means “neutral cool” but is actually for warm undertones, while NW means “neutral warm” but suits cool undertones.
Learning your shade in one or two popular brands gives you reference points. You can then use online shade-matching tools to find equivalents in other brands.
Testing foundation at the store effectively
When testing at beauty counters or stores, follow this approach:
- Go without face makeup if possible, or at least remove foundation from your jawline
- Bring a small mirror so you can check the match in different areas
- Ask for samples to test at home over several days
- Test during the middle of the day when natural light is most consistent
- Don’t feel pressured to buy immediately
Sales associates can be helpful, but remember they sometimes work on commission. Trust your own eyes and testing process over sales pitches.
If a store offers color-matching technology, use it as a starting point but not the final decision. These tools can be helpful but aren’t always accurate for every skin tone.
Why your foundation might look wrong after application
You chose a shade that looked perfect in the store, but it looks off at home. Here’s why.
Oxidation: Some foundations darken after application as they react with your skin’s oils and pH. This is why waiting five minutes during testing matters.
Different lighting: Your bathroom lighting might be warmer or cooler than where you tested. Natural light is always most accurate.
Application method: Heavy application looks different than sheer coverage. The same shade can appear darker when applied thickly.
Skin preparation: Foundation looks different on moisturized skin versus dry skin, or over primer versus bare skin. Test under the same conditions you’ll wear it.
Undertone mismatch: The depth might be right, but if the undertone is wrong, the foundation will look orange, pink, or gray.
If your foundation consistently looks wrong, the issue is probably undertone rather than depth.
Building confidence in your choice
Choosing foundation shade gets easier with practice. Here are signs you’ve found the right match:
- The foundation disappears into your skin at your jawline
- Your neck and face look like they’re the same color
- The shade looks natural in photos taken with flash
- You don’t need to blend heavily down your neck
- The color looks consistent in different lighting
- People can’t tell where your foundation ends
You might still want to adjust with bronzer, blush, or highlighter, but your base should look like skin.
Remember that perfect matches are rare. A shade that’s 90% right is usually good enough, especially if you can adjust it slightly with mixing or strategic application.
Making foundation shopping less overwhelming
The foundation wall at beauty stores is intimidating. Simplify the process with these tips:
- Identify your undertone before you go
- Narrow down to formulas for your skin type
- Start with brands known for your skin tone range
- Ask for help from sales associates (but verify their suggestions yourself)
- Focus on one brand at a time rather than comparing everything
- Take photos of swatches to review later
You don’t need to test every foundation on the market. Once you find a good match in one brand, you can use that as a reference point for trying others.
Your foundation shade matters more than you think
The right foundation shade transforms your entire makeup look. It makes everything else (blush, eyeshadow, lipstick) look better because your base looks natural.
A wrong shade, no matter how expensive or high-quality the formula, will always look off. It’s worth spending time to get this right.
Start with the vein test to identify your undertone. Test three shades on your jawline in natural light. Wait five minutes and choose the one that disappears. Adjust seasonally as needed.
You’ve got this. Take your time, test properly, and trust what you see in natural light. The perfect shade is out there, and now you know exactly how to find it.