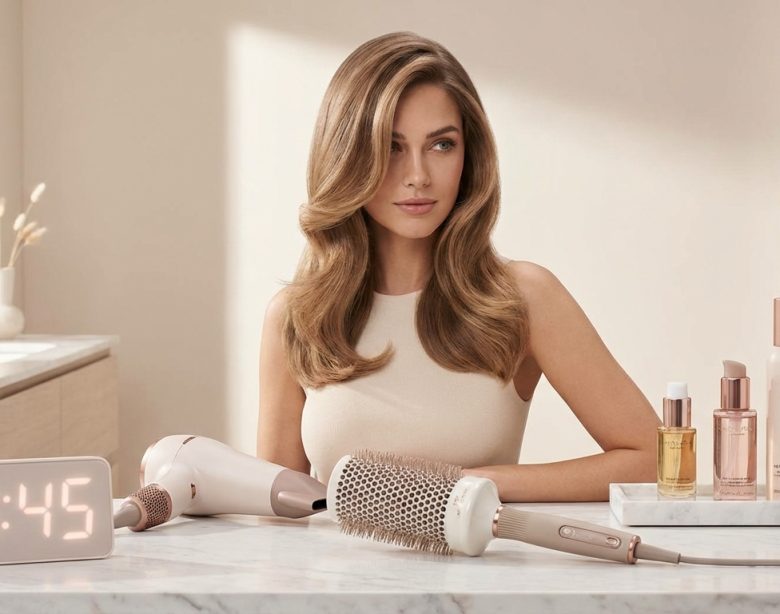
Salon blowouts cost anywhere from $40 to $100 per session. That adds up fast when you want polished hair more than once a month. The good news? You can recreate that same bouncy, smooth finish in your own bathroom without spending hours or mastering complicated techniques.
Achieving a salon blowout at home requires the right prep, tools, and sectioning strategy. Start with clean, towel-dried hair, apply heat protectant, and work in small sections from roots to ends. Use a round brush with tension and direct heat downward along the hair shaft. With practice, you’ll finish in 15 to 20 minutes and extend results for three to five days.
Understanding What Makes a Blowout Different
A blowout isn’t just dried hair. It’s a styling technique that uses heat, tension, and directional airflow to smooth the cuticle, add volume at the roots, and create movement through the lengths.
The key difference between air-drying and a proper blowout comes down to cuticle alignment. When you let hair dry naturally, the cuticle stays raised and rough. That creates frizz and dullness. A blowout seals the cuticle flat, which reflects light and gives you that glossy, just-left-the-salon finish.
Professional stylists work in small sections and maintain constant tension on the hair. That’s what creates lasting smoothness and body. You can replicate this at home once you understand the mechanics.
Gathering Your Essential Tools
You don’t need a vanity full of expensive gadgets. Focus on quality over quantity.
Here’s what actually matters:
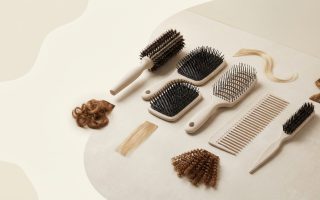
- Ionic hair dryer with concentrator nozzle: Look for at least 1800 watts. The concentrator focuses airflow and prevents frizz.
- Round ceramic or thermal brush: Choose a 2-inch barrel for medium to long hair, or 1.5-inch for shorter styles.
- Sectioning clips: Metal or plastic clips that grip without slipping.
- Heat protectant spray or cream: Non-negotiable for preventing damage.
- Lightweight styling cream or mousse: Adds hold without stiffness.
- Finishing serum or oil: A tiny amount smooths flyaways after styling.
Avoid brushes with natural bristles only. They create too much friction. A mix of nylon and boar bristles works best for grip and smoothness.
Your dryer should have multiple heat and speed settings. High heat opens the cuticle for shaping. Cool air seals it shut and locks in the style.
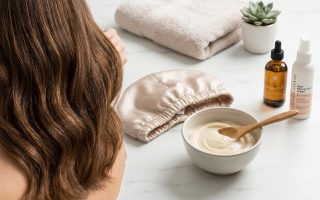
Prepping Your Hair the Right Way
Blowouts start in the shower. Use a smoothing or moisturizing shampoo and conditioner. Skip heavy masks unless your hair is extremely dry. Too much product weighs down volume.
After rinsing, gently squeeze out excess water with a microfiber towel or old t-shirt. Regular towels create friction and rough up the cuticle before you even start styling.
Apply heat protectant to damp hair from mid-lengths to ends. Don’t skip the roots if you use hot tools there too. Then add a golf-ball-sized amount of mousse or styling cream, focusing on roots for lift and ends for control.
Let your hair air-dry about 60 to 70 percent before picking up the dryer. This cuts down on heat exposure and speeds up the process. You want hair damp, not soaking wet or completely dry.
If you’re protecting your hair from frequent heat styling, check out tips on how to repair heat damaged hair at home without cutting it all off to keep your strands healthy between blowouts.
Step-by-Step Blowout Process
Here’s the exact method professionals use, broken down for home styling.
1. Section your hair properly
Divide hair into four quadrants: left front, right front, left back, right back. Clip three sections up and out of the way. Always start with the bottom layers in back.
2. Rough-dry the roots
Before using your round brush, flip your head upside down and blast the roots with medium heat. Move the dryer around constantly. This pre-dries the scalp area and builds volume from the start.
3. Work in horizontal sections
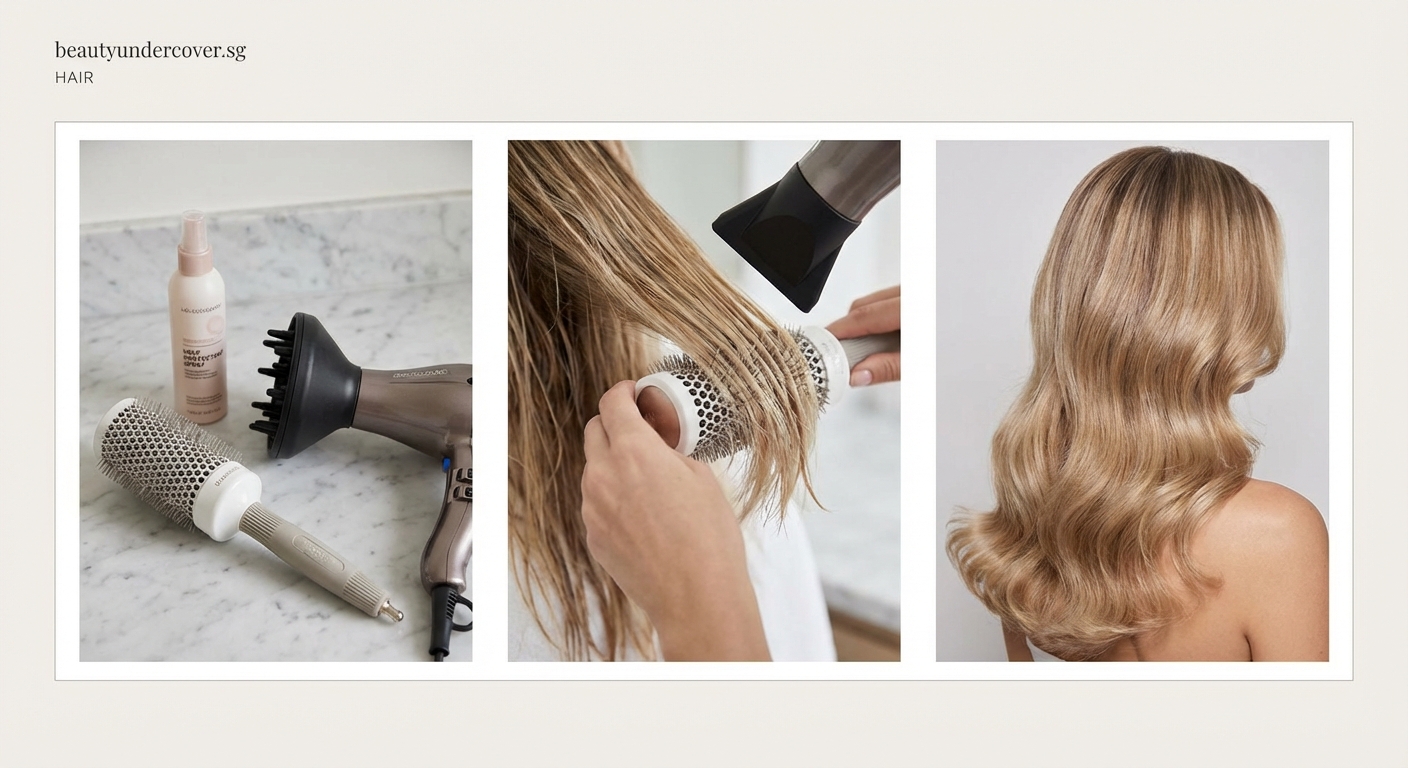
Take a horizontal section about one to two inches thick. Comb through to remove tangles. Place your round brush underneath the section at the roots.
4. Apply tension and heat together
Pull the brush forward and slightly up, creating tension. Direct the dryer’s nozzle down the hair shaft, following the brush. Keep the dryer moving. Never hold it in one spot.
5. Roll ends under or out
As you reach the ends, rotate the brush under for a classic curve or flip it out for a more modern finish. Hold for two seconds with heat, then blast with cool air for three seconds.
6. Repeat through all sections
Move from back to front, bottom to top. Each section should only need one or two passes if you’re working with enough tension and heat.
7. Finish with cool air
Once all sections are dry and styled, flip your head over and blast everything with cool air for 30 seconds. This sets the style and adds shine.
Common Mistakes That Ruin Your Results
Even with the right tools, small errors can sabotage your blowout. Here’s what to avoid and how to fix it.
| Mistake | Why It Happens | How to Fix It |
|---|---|---|
| Frizzy, puffy finish | Cuticle isn’t sealed; heat too low | Use higher heat while styling, finish with cool shot |
| Flat, limp roots | Not enough tension or lift at the base | Rough-dry roots first; use smaller sections |
| Ends look stringy or bent | Brush removed too soon; not enough heat | Hold brush at ends longer; increase temperature |
| Style falls flat in an hour | Hair still damp when finished | Ensure 100% dryness before moving to next section |
| Excessive frizz the next day | Skipped heat protectant or finishing serum | Always prep with protectant; seal with lightweight oil |
If your hair feels crunchy or stiff, you used too much product. Start with less. You can always add more on day two or three.
Choosing Products for Your Hair Type
Not all hair needs the same approach. Tailor your product lineup to your texture and goals.
Fine or thin hair: Skip heavy creams. Use a volumizing mousse at the roots and a lightweight heat protectant spray. Avoid oils until after styling, and use only a drop on ends.
Thick or coarse hair: You need more moisture and control. Use a smoothing cream or balm on damp hair. A richer heat protectant works better. Finish with a small amount of serum to tame flyaways.
Curly or textured hair: Pre-stretch curls with a paddle brush and low heat before using the round brush. Use a leave-in conditioner plus heat protectant. Consider a straightening balm for extra smoothness.
Color-treated or damaged hair: Prioritize bond-building or protein-infused protectants. Keep heat on medium, not high. Use a nourishing oil after styling to restore shine.
“The biggest mistake people make at home is using too much heat on soaking wet hair. You’re essentially boiling the water inside the strand, which causes long-term damage. Always pre-dry to about 60 percent dampness before using a brush and concentrated heat.” – Professional hairstylist with 12+ years of salon experience
Making Your Blowout Last Longer
A salon blowout at home should last three to five days with the right aftercare. Here’s how to extend your results.
Sleep on a silk or satin pillowcase. Cotton creates friction that roughs up the cuticle overnight. If you move a lot in your sleep, loosely twist hair into a low bun and secure with a scrunchie.
Avoid touching your hair throughout the day. Oils from your hands transfer to strands and create buildup. If you need to smooth flyaways, use the back of your hand or a boar bristle brush.
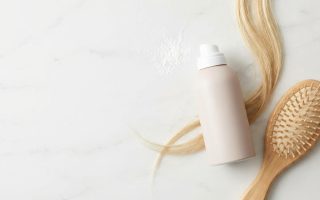
Use dry shampoo strategically. Apply it to roots the night before you plan to refresh, not the morning of. This gives the powder time to absorb oil without leaving a chalky residue.
On day three or four, revive flat sections with a round brush and low heat. You don’t need to redo the entire head. Focus on the top layer and around your face.
When you do wash again, try extending time between shampoos by rinsing with water only or using a co-wash. This maintains the smooth texture longer.
Adjusting Technique for Different Lengths
Your hair length changes how you handle the brush and dryer.
Short hair (chin-length or above): Use a smaller 1- to 1.5-inch barrel brush. Work in very small sections. Focus on lifting roots and directing ends where you want them. Short hair dries faster, so you’ll finish in 10 to 12 minutes.
Medium hair (shoulder to collarbone): A 2-inch brush works well. You have enough length to create movement but not so much that sections become unmanageable. Expect 15 to 18 minutes total.
Long hair (past shoulders): Stick with a 2- to 2.5-inch brush. Work in slightly larger sections to save time, but maintain tension throughout. Long hair takes the full 20 minutes, sometimes a bit more for very thick or dense hair.
For all lengths, the back sections take longest because you can’t see what you’re doing. Set up a handheld mirror behind you or practice by feel. It gets easier after three or four attempts.
Troubleshooting Specific Problem Areas
Some spots always seem harder to style. Here’s how to handle them.
Cowlicks at the crown: Blow-dry this area first while hair is very damp. Direct airflow against the cowlick’s natural direction. Use a smaller round brush and extra tension.
Frizzy hairline and baby hairs: After finishing the blowout, spray a clean toothbrush with light hairspray. Gently brush baby hairs down and back. Don’t use too much product or they’ll look greasy.
Uneven texture on one side: You probably used less tension or fewer passes on that side. Go back with your round brush and one more pass of heat, then cool air.
Ends won’t curl under: Increase heat slightly and hold the brush at the ends for an extra two seconds. Make sure you’re rotating the brush fully, not just pulling it through.
Roots fall flat after an hour: You need more lift during the rough-dry phase. Flip upside down and really focus on getting air to the scalp. Also check that you’re not using too much heavy product at the roots.
When to Skip the Blowout
Some situations call for different styling methods. If your hair is severely damaged or breaking, give it a rest from heat. Air-dry or use heatless methods until you rebuild strength.
Right after chemical treatments like relaxers, perms, or keratin, wait at least 48 to 72 hours before heat styling. Your hair needs time to stabilize.
If you’re dealing with an itchy or irritated scalp, the heat and tension from a blowout can make it worse. Address the scalp issue first, then return to styling.
On extremely humid days, even the best blowout won’t last. Save your effort for better weather or use anti-humidity products and accept a softer, less polished finish.
Building Your Routine Around Blowouts
Consistency makes the process faster. If you plan to do a salon blowout at home every four to five days, build your routine around that schedule.
Wash your hair in the evening if possible. Let it air-dry 60 percent overnight, then finish styling in the morning. This cuts your active styling time in half.
Keep all your tools in one place. A small caddy or drawer organizer prevents the frustration of hunting for clips or your brush when you’re already running late.
Practice during low-pressure moments. Don’t attempt your first home blowout 20 minutes before an important meeting. Try it on a weekend when you have extra time and can troubleshoot without stress.
Track what works. If a particular product or technique gives you great results, write it down. Your hair changes with seasons, hormones, and environment. Keeping notes helps you adjust.
If you’re building a beauty routine that fits into a busy schedule, you might also appreciate the ultimate 10-minute morning skincare routine for busy people for streamlining your entire getting-ready process.
Your Hair, Your Schedule, Your Way
A salon blowout at home puts you in control of your time and your budget. You don’t need to book appointments weeks in advance or spend your Saturday morning in a salon chair.
The first few attempts might take closer to 30 minutes. That’s normal. Your hands need to learn the motion, and your brain needs to stop overthinking each section. By the fourth or fifth time, you’ll move faster and feel more confident.
Start this weekend. Wash your hair, gather your tools, and work through the steps at your own pace. You’ll probably surprise yourself with how professional the results look, even on your first try.