Your pantry holds more skincare potential than you think. Those everyday ingredients sitting between your spices and cooking oils can transform your beauty routine without the hefty price tag of luxury products.
Common kitchen ingredients like honey, oats, and coconut oil offer proven beauty benefits at a fraction of commercial product costs. These natural alternatives work effectively for cleansing, moisturizing, and treating various skin concerns when used correctly. Understanding proper application methods and potential sensitivities ensures safe, successful results. Most households already own these ingredients, making them accessible solutions for budget-conscious skincare enthusiasts.
Why your kitchen makes sense for beauty
Commercial skincare products often contain the same active ingredients you cook with daily. The difference? Marketing, packaging, and a significant markup.
Your kitchen offers fresh, preservative-free alternatives. You control what touches your skin. No mysterious chemical names. No wondering about expiration dates from months ago.
The cost savings add up fast. A jar of raw honey costs around $8 and lasts for dozens of face masks. Compare that to a $45 honey-based cleanser that runs out in six weeks.
Starting with how to build a simple 3-step skincare routine for absolute beginners helps you identify which kitchen ingredients work best for your specific skin type.
The science behind kitchen beauty ingredients

These ingredients work because of their molecular structure and natural compounds. Honey contains antibacterial enzymes and humectants that draw moisture into skin. Oats have anti-inflammatory properties that calm irritation.
Your skin recognizes these natural compounds more readily than synthetic alternatives. This doesn’t mean all natural ingredients are safe, but many have centuries of documented use.
The key is understanding active components:
- Lactic acid in yogurt gently exfoliates
- Lauric acid in coconut oil fights bacteria
- Antioxidants in green tea protect against environmental damage
- Enzymes in papaya dissolve dead skin cells
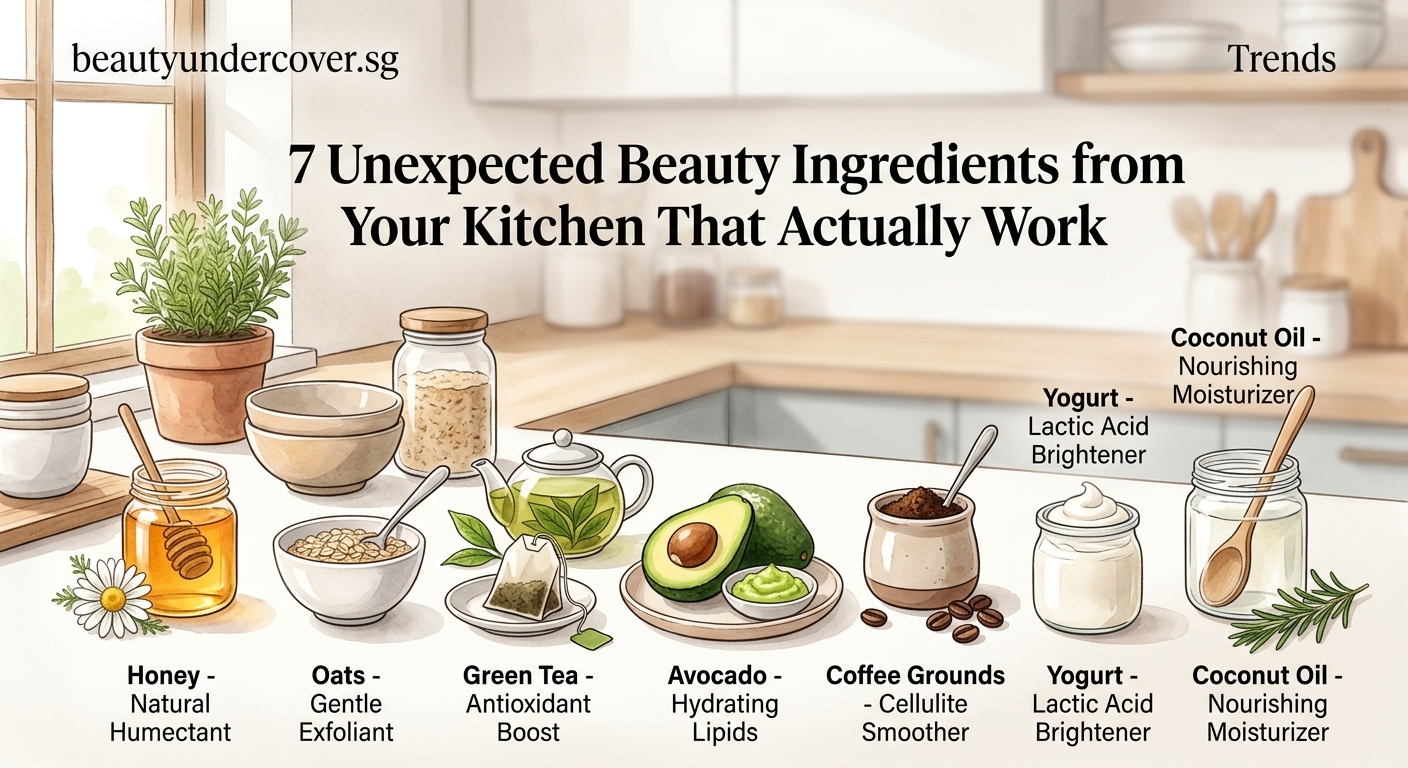
Seven kitchen staples that transform your skin
Raw honey for cleansing and healing
Raw honey works as both a cleanser and treatment mask. Its sticky texture feels strange at first, but it removes makeup and dirt while leaving skin soft.
Apply to damp skin. Massage gently for 30 seconds. Let it sit for 5 minutes. Rinse with warm water.
Honey’s antibacterial properties make it particularly effective for acne-prone skin. It also speeds healing of minor blemishes and reduces redness.
Oats for sensitive skin relief
Ground oatmeal soothes irritated, inflamed, or reactive skin better than most commercial products. Dermatologists recommend colloidal oatmeal for eczema and rosacea.
Make your own by grinding regular oats in a coffee grinder until powdery. Mix with water to form a paste. Apply to clean skin for 10 minutes.
This works especially well after experiencing why your skin purges when you start new products and what to do about it.
Coconut oil for deep moisture
Coconut oil penetrates skin differently than water-based moisturizers. It creates a protective barrier while delivering fatty acids that strengthen your skin’s natural defenses.
Use it sparingly. A little goes far. Warm a pea-sized amount between your palms before pressing into damp skin.
Some people break out from coconut oil. Patch test on your jawline for three days before applying to your entire face.
Plain yogurt for gentle exfoliation
Full-fat, unsweetened yogurt contains lactic acid that dissolves dead skin cells without scrubbing. This makes it gentler than physical exfoliants.
Apply a thin layer to clean skin. Leave for 10 minutes. Rinse thoroughly.
Your skin looks brighter immediately. Regular use (twice weekly) improves texture and reduces the appearance of dark spots over time.
Green tea for antioxidant protection
Brewed green tea (cooled completely) works as a toner that delivers protective antioxidants. It reduces inflammation and may help prevent premature aging.
Brew a strong cup. Let it cool to room temperature. Apply with a cotton pad after cleansing.
Store leftover tea in the refrigerator for up to three days. The slight cooling sensation feels refreshing on irritated skin.
Avocado for intensive hydration
Mashed avocado creates a rich mask for extremely dry skin. The natural oils and vitamins penetrate deeply, leaving skin plump and soft.
Mash one-quarter of a ripe avocado until smooth. Apply to clean skin. Leave for 15 minutes. Remove with a warm, damp washcloth.
This works particularly well during winter months or in dry climates. Pair it with the best hydrating serums for dry skin under $30 for maximum moisture.
Apple cider vinegar as a toner
Diluted apple cider vinegar balances skin pH and provides gentle exfoliation. The acetic acid content helps control oil and minimize pore appearance.
Always dilute it. Mix one part vinegar with three parts water for normal skin. Use one part vinegar to four parts water for sensitive skin.
Apply with a cotton pad after cleansing. Follow with moisturizer once dry.
“Natural ingredients from your kitchen can be just as effective as commercial products when used correctly. The key is understanding your skin type and choosing ingredients that address your specific concerns.” – Board-certified dermatologist
How to use kitchen ingredients safely
Not every natural ingredient suits every skin type. Testing prevents adverse reactions and wasted effort.
The patch test protocol
- Choose a small area on your inner forearm or behind your ear
- Apply a small amount of your chosen ingredient
- Wait 24 hours
- Check for redness, itching, or irritation
- If clear, test on your jawline for three days before full face application
Frequency guidelines for different ingredients
| Ingredient | Recommended Frequency | Best For |
|---|---|---|
| Honey | Daily or as needed | All skin types |
| Oats | 2-3 times per week | Sensitive, irritated skin |
| Coconut oil | Daily (if tolerated) | Dry, normal skin |
| Yogurt | 1-2 times per week | Normal, combination skin |
| Green tea | Daily | All skin types |
| Avocado | 1-2 times per week | Dry, mature skin |
| Apple cider vinegar | Daily (diluted) | Oily, acne-prone skin |
Common mistakes that reduce effectiveness
Using too much product wastes ingredients and can overwhelm your skin. Start with less than you think you need.
Leaving masks on too long doesn’t increase benefits. Most ingredients work within 10-15 minutes. Longer application times risk irritation.
Mixing incompatible ingredients creates unstable formulas. Stick to simple, single-ingredient applications until you understand how your skin responds.
Expecting overnight results leads to disappointment. Natural ingredients work gradually. Give each new addition at least four weeks before evaluating effectiveness.
Combining kitchen ingredients with your regular routine
These natural options work alongside commercial products. You don’t need to choose one approach exclusively.
Use honey as your morning cleanser, then follow with your regular serum and moisturizer. Apply a yogurt mask twice weekly before your nighttime routine.
Understanding what order should you apply your serums, oils, and moisturizers helps you integrate kitchen ingredients effectively.
Layer kitchen ingredients according to the same rules as commercial products. Thinnest to thickest. Water-based before oil-based.
Ingredients that deserve caution
Some popular kitchen beauty recommendations carry more risk than benefit.
Lemon juice
Undiluted lemon juice is too acidic for most skin. It can cause chemical burns, increase sun sensitivity, and create uneven pigmentation. The risks outweigh any potential brightening benefits.
Baking soda
Despite its popularity in DIY recipes, baking soda disrupts your skin’s natural pH balance. This damages your moisture barrier and can lead to increased sensitivity and breakouts.
Sugar scrubs
Physical exfoliation with sugar crystals can create micro-tears in skin. These tiny injuries increase inflammation and slow healing. Chemical exfoliants like yogurt work more safely.
Cinnamon
This spice irritates most skin types. It can cause redness, burning, and allergic reactions. Skip the cinnamon face masks you see on social media.
Storage and shelf life considerations
Kitchen ingredients lack preservatives, so they spoil faster than commercial products. Proper storage extends their usability.
- Store oils in cool, dark places
- Refrigerate yogurt and avocado masks
- Use honey at room temperature
- Brew fresh green tea every three days
- Mix single-use portions when possible
Discard anything that smells off, changes color, or develops mold. When in doubt, throw it out.
Budget comparison with commercial alternatives
Let’s break down the real cost savings:
Honey cleanser comparison:
– Commercial honey cleanser: $38 for 4 oz (lasts 6 weeks) = $6.33 per week
– Raw honey: $12 for 16 oz (lasts 6 months) = $0.46 per week
Moisturizer comparison:
– Premium face cream: $68 for 1.7 oz (lasts 8 weeks) = $8.50 per week
– Coconut oil: $8 for 14 oz (lasts 6 months) = $0.31 per week
Exfoliating mask comparison:
– Store-bought mask: $24 for 2 oz (8 uses) = $3 per use
– Plain yogurt: $4 for 32 oz (16 uses) = $0.25 per use
The annual savings exceed $1,200 if you replace just three commercial products with kitchen alternatives.
Those savings free up budget for targeted treatments like the best hydrating serums for dry skin under $30 that address specific concerns.
What to expect in the first month
Week one feels experimental. Your skin adjusts to new textures and formulas. You might not see dramatic changes yet.
Week two brings subtle improvements. Your skin feels softer. Any initial adjustment period (mild purging or slight dryness) typically resolves.
Week three shows visible results. Texture improves. Hydration levels increase. You start understanding which ingredients work best for your needs.
Week four confirms your routine. You’ve identified favorites and eliminated ingredients that don’t suit your skin. Results become consistent and predictable.
Some people experience why your skin purges when you start new products and what to do about it even with natural ingredients. This normal response doesn’t mean the ingredient is wrong for you.
Seasonal adjustments for kitchen skincare
Your skin’s needs change with weather and humidity levels. Adjust your ingredient choices accordingly.
Summer adaptations:
– Use lighter oils like grapeseed instead of coconut
– Increase green tea toner frequency
– Apply honey masks for hydration without heaviness
– Reduce oil-based treatments if humidity increases natural oil production
Winter modifications:
– Layer avocado masks weekly for extra moisture
– Increase coconut oil application
– Add honey to combat indoor heating dryness
– Use oat masks to soothe weather-related irritation
Creating effective combinations
Simple two-ingredient mixtures often work better than complex recipes. Here are tested combinations:
For dry skin:
– Honey + avocado (equal parts)
– Coconut oil + a few drops of green tea
For oily skin:
– Yogurt + honey (2:1 ratio)
– Green tea + diluted apple cider vinegar
For sensitive skin:
– Oats + honey
– Coconut oil + cooled green tea
For combination skin:
– Yogurt + honey (equal parts)
– Avocado (T-zone) + diluted apple cider vinegar (other areas)
When kitchen ingredients aren’t enough
Natural options work beautifully for maintenance and mild concerns. They have limitations for specific conditions.
Active acne with cysts or nodules needs professional treatment. Kitchen ingredients can support your routine but shouldn’t replace medical intervention.
Severe rosacea, eczema, or psoriasis require dermatologist guidance. Natural ingredients might help manage symptoms between flares, but they’re not primary treatments.
Hyperpigmentation responds slowly to kitchen ingredients alone. Combining them with targeted treatments like tranexamic acid for hyperpigmentation produces faster results.
Deep wrinkles and significant sun damage benefit from clinical-strength ingredients. Use kitchen staples for daily maintenance while incorporating proven anti-aging actives.
Simplifying your approach
You don’t need every ingredient listed here. Start with two or three that address your primary concerns.
Choose based on your current skincare goals:
- Need better cleansing? Start with honey
- Want more moisture? Try coconut oil or avocado
- Looking for gentle exfoliation? Use yogurt
- Seeking to calm irritation? Reach for oats
Add new ingredients slowly. Give each one at least two weeks before introducing another. This approach helps you identify what actually works versus what’s just trendy.
Many people find that how to build a simple 3-step skincare routine for absolute beginners provides the foundation for incorporating kitchen ingredients successfully.
Your pantry as your beauty cabinet
The most effective skincare routine is one you’ll actually follow. Kitchen ingredients remove barriers of cost and accessibility that prevent consistent care.
You already shop for these items. You understand their quality and freshness. You control every aspect of what touches your skin.
Start tonight with one ingredient. Apply honey as a cleanser or smooth coconut oil on dry patches. Notice how your skin responds. Adjust based on results, not internet trends.
Your kitchen holds simple, effective solutions that work as well as products costing ten times more. The best part? You probably bought groceries this week that can transform your skin by next month.